Feeds:
Posts
Comments

Archive for the ‘Food’ Category

This is what I typically get when I go on my bi weekly produce shopping spree. Plum tomatoes, onions, garlic, peppers, cucumbers, kiwi etc. This winter has been a pretty good winter as far as food and my diet has been concerned. I don’t really stress too much about what I eat or my weight. If I like it and want it, I eat it. But I do pay attention and limit the amount of processed/junk food I consume, always trying to maintain a healthy balance. What I really have been focusing on these past couple of years is perfecting my cooking skills to help better my health as well as keep an open mind when it comes to trying new things.
 
One of these new things I have incorporated into my diet is cauliflower. I’ve had cauliflower before but recently it has become my main staple as far as salads have been concerned. Last year I was loving my watercress and avocado salads (very nutritious and healthy by the way) but this time around cauliflower has been stealing the show.
Cauliflower is related to not only broccoli but also, kale and cabbage all belonging to the cruciferous family. Cauliflower is not green like broccoli because cauliflower’s leaves blocks the sun, preventing the growing cauliflower from producing Chlorophyll or it’s green color rather.
I’m not a big fan of broccoli anyway because the taste tends to be a little too “green” not because of the color, just the earthy taste to it I guess. Cauliflower on the other hand tends to have a much more lighter and not too overpowering taste which complements most of my dishes.
Not only is cauliflower delicious but contains a variety of health benefits as well:
Strengthens the immune system
Contains Vitamin C
Antioxidant
Prevents strokes and heart attacks
Helps immune system fight infections, viruses,colds
Contains fiber helping prevent constipation
Detoxifies Blood
Fights and prevents many types of cancers
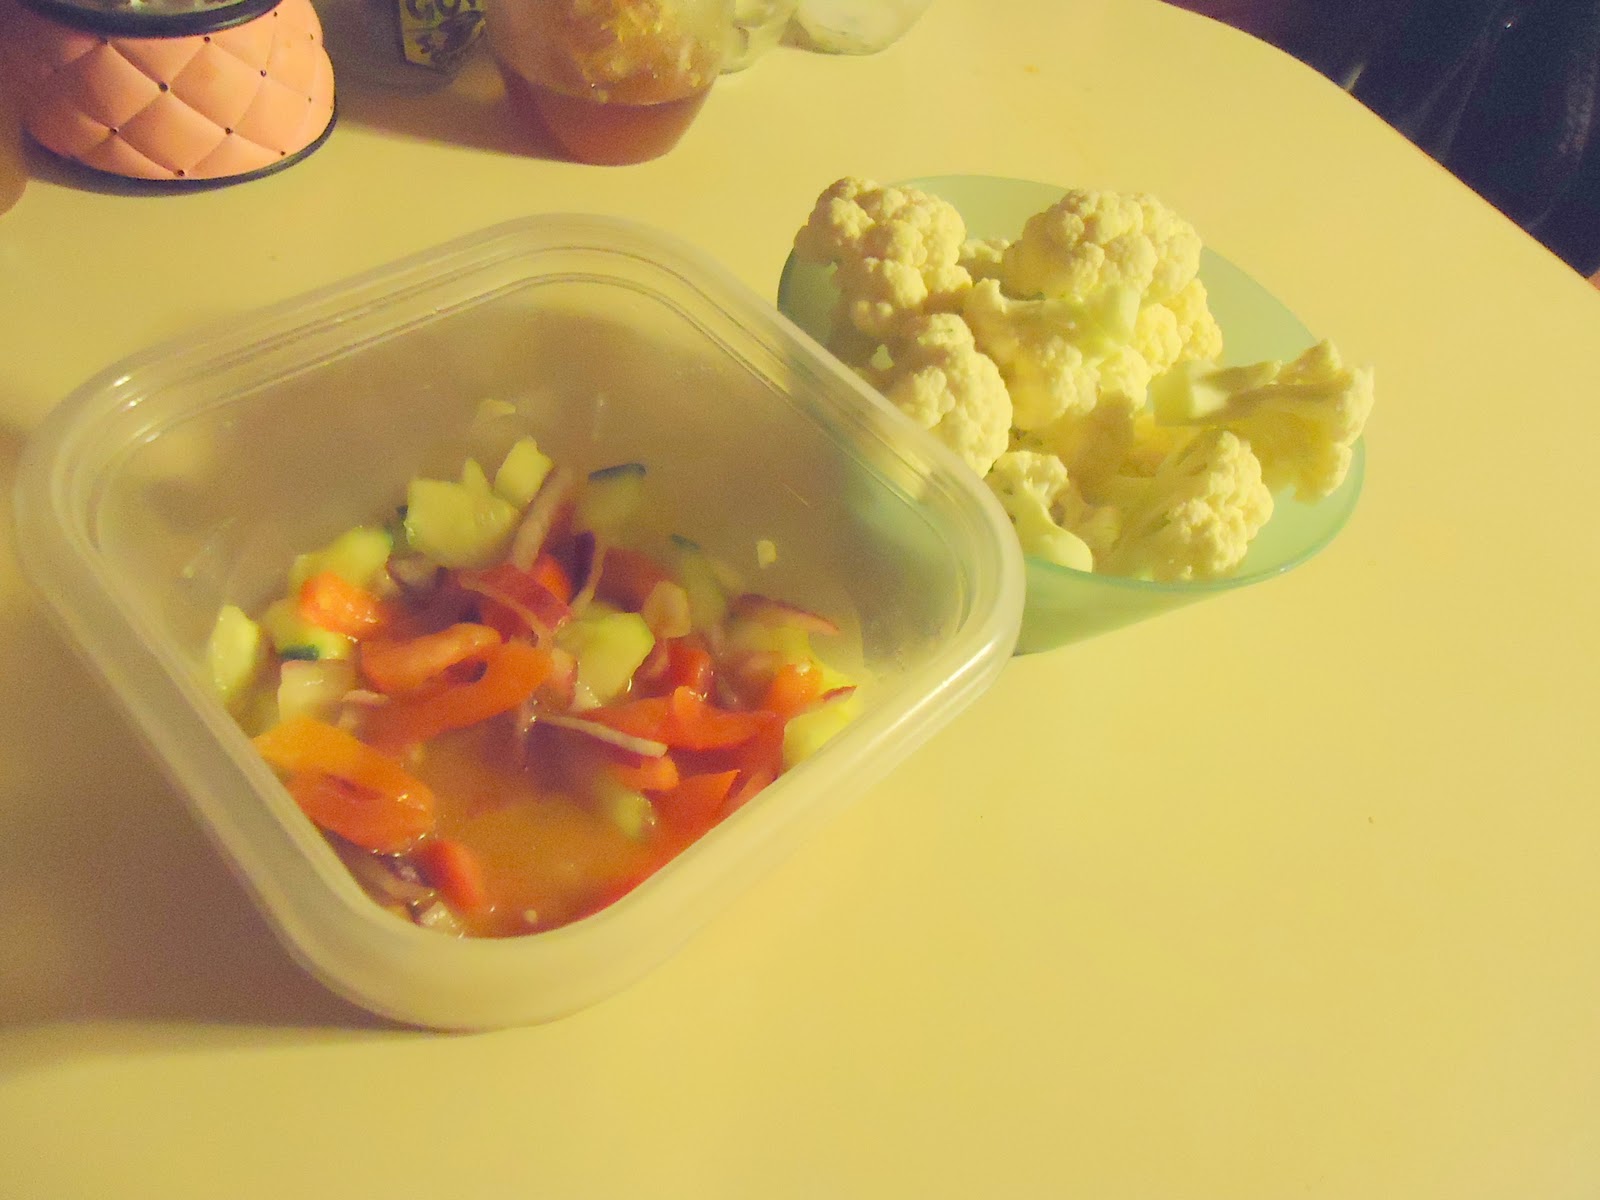
My cauliflower dipping Concoction
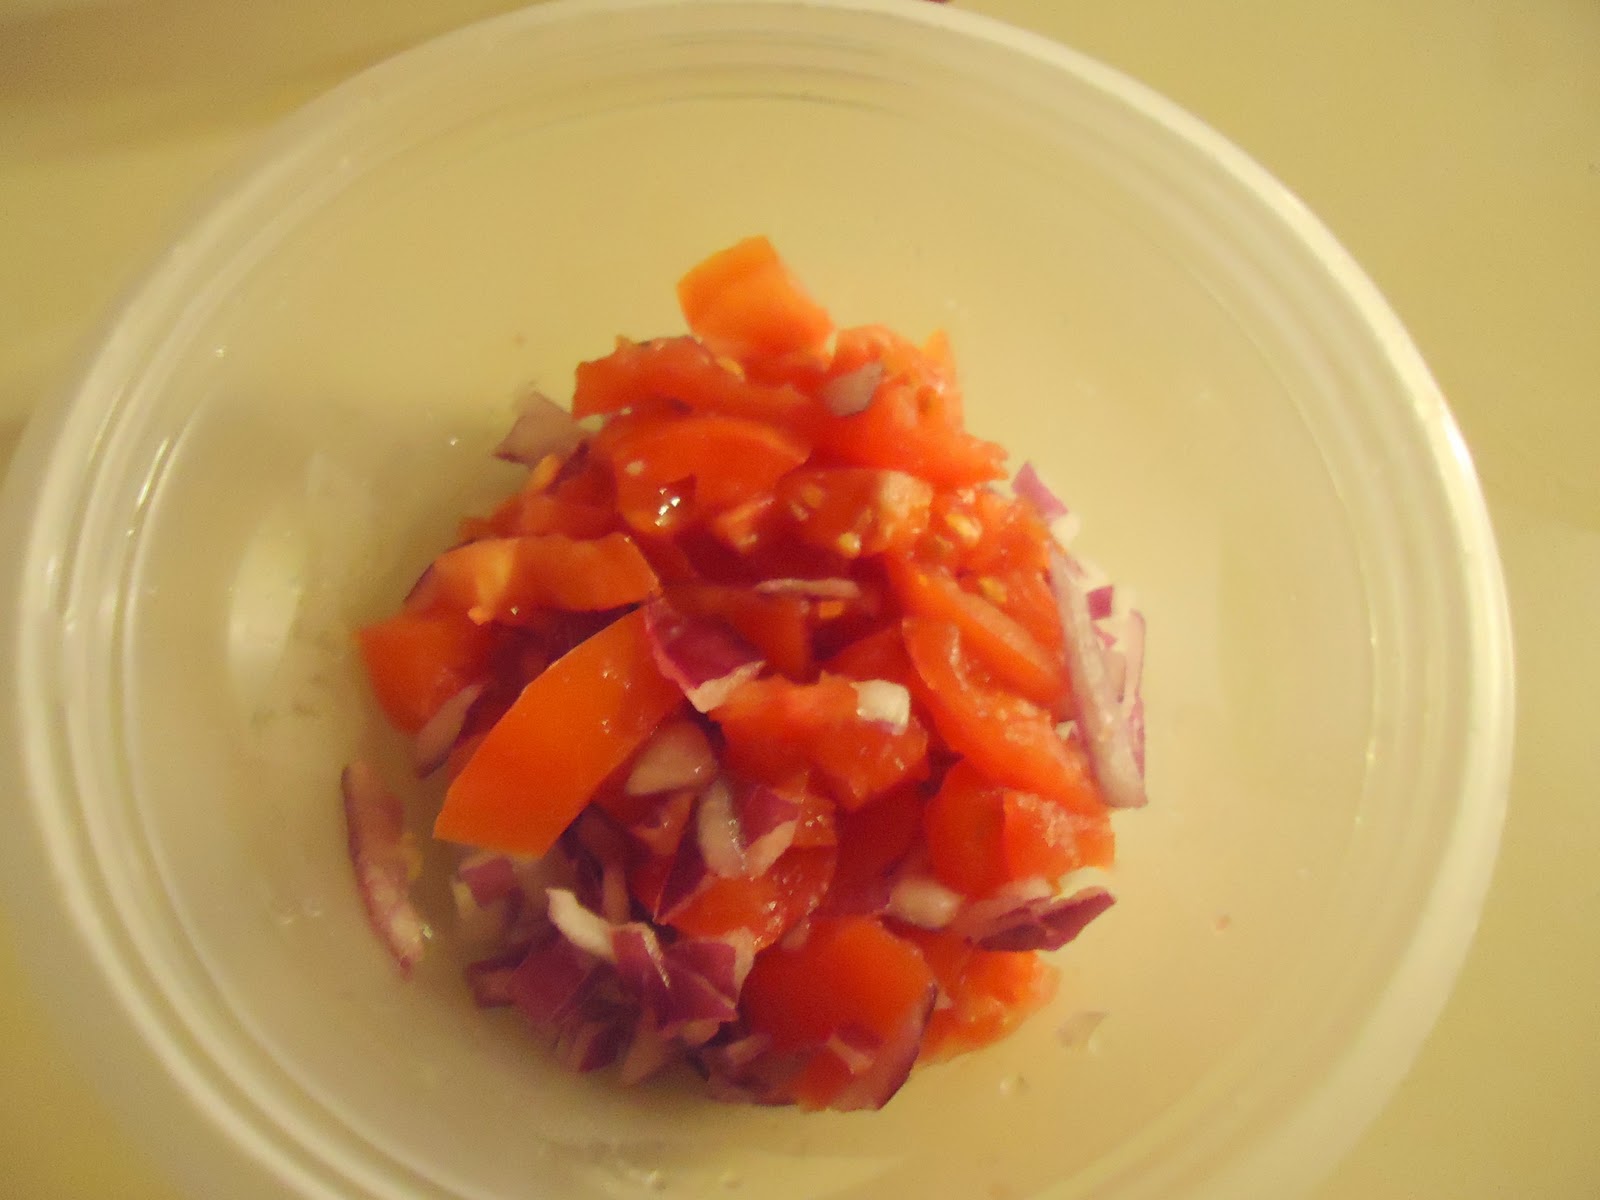
I love the taste of cauliflower so I can eat it with no dressing at all, but while over at  WHAT’S COOKIN one of my favorite food blogs, I was inspired by this amazing red vinaigrette recipe which makes for a tasty and delicious dressing.
I simply chopped up some onions and tomatoes and added my dressing and simply used it as a salad/ dipping sauce for my cauliflower.

You can also add avocados, cucumbers or whatever you desire really. The best way to have cauliflower is to lightly saute them or steam them. If you choose to boil them make sure to not leave them in for more than 3 minutes otherwise they will get full of water and end up all mushy.
Cauliflower is a great dish to have year round. I find I will enjoy cauliflower well into the summer considering it has such a light, pleasing taste.
I also picked up a bag of lentils to make this week. A lovely reader requested I do a tutorial so I will be working on that, stay tuned!

Read Full Post »

CSN Stores Review…. Finally

This review is wayyy over due but I guess better late than never. Originally when CSN stores contacted me I picked out a very unique and fabulous Rose Quartz candle holder. Unfortunately the designer was not making them anymore and as my luck would have it CSN did not have one in stock. So after much running around, phone calls and emails I was finally able to repurchase another item. Even though there was a little mix up, CSN promotions team took care of everything.

So as you all may know I love to cook and decided on a pan. I was in need of a good non stick saute pan and this 12 inch farberware nonstick is just what I needed. I’m starting to experiment with stir fry dishes and I’m loving how well this pan performs. It’s bigger than anticipated but it does the job.

Bottom of pan
The only thing I don’t like about the pan is the handle. It does not have a heat resistant handle like most of my pans. I found that strange since most pans have them.
It also comes with this clear cover excellent for simmering.

This pan is very good and I have no complaints. It’s very durable and sturdy and not to mention super easy to clean.

Of course I got down to cooking right away and decided on a lightly seasoned steamed fish with tomatoes, onions, peppers and garlic.

I just chopped up some onion, garlic, peppers and tomatoes and one packet of annato coloring with about two cups of water, let simmer for 20 minutes…..

and you have yourself the most simple yet amazing Tilapia fish ever………
CSN carries a whole bunch of products and it’s amazing all the stuff they manage to keep track of. Once my issue was resolved I received my package in 5 days. Customer service was prompt and I was happy with my product.

Read Full Post »

 My favorite holiday dish ever is Moro de gandules con coco (pigeon peas). A must have dish for Christmas time especially throughout the Caribbean. This is my first attempt making this particular dish. Since I usually have moro de gandules (without the coconut milk), I decided to give it a try after checking the recipe out on Dominicancooking.com. I was a little hesitant given the coconut milk, but it’s basically the same way I usually do my moros, the only difference was the coconut milk, so I went for it.
What I used:
 Can of gandules (pigeon peas)
Olive Oil
Red Onions
Adobo
Garlic
Green Pepper
Achiote (bija)
Chicken Bouillon
Vinegar
Coconut Milk
Rice
I tend to be very simple when it comes to my dishes and I usually eyeball my ingredients since I typically just cook for 2 (in under 20 mins). If you want added ingredients and exact measurements to serve 4 people go here. No matter what you decide to add or omit from the recipe, the process is pretty much the same.
First you want to oil you pot

Chop up your onions, Green pepper, Garlic
Add it to your heated pot
Gandules (Pigeon peas) are very popular and versatile especially throughout the Caribbean. They are like black eyed peas but green. And unlike regular green peas, which are round and plump, pigeon peas are flat.
Once the onions, garlic and pepper have cooked for about 5 minutes in the oil, add your gandules.
Now you want to add your cap of vinegar, drizzle a little adobo, add 1 boullion cube and the rest of your ingredients except for the coconut milk.
Then add water according to your measurements

Once you have added your water, add your coconut milk. I added about a 3/4 of a cup of coconut milk for my little pot, since it was a small batch and did not want the coconut milk to overpower in taste. Then you want to add your achiote packet for color.
 Let it come to a full boil………

and add your rice. Let it boil (stirring every couple of minutes) until the rice dries a bit.
Making rice can be tricky for most, but it usually depends on your stove. Electric stoves tend to be an issue so make sure you adjust your low accordingly.
After about 45mins this is what I had left….very soft and tasty rice with a slight and light hint of coconut.
The aroma was faint. The taste was very light. I just had a very light coconut after taste which was soooo good. It came out pretty good for my first time and definitely will be making this more often.
 I’ve been wanting some fried fish lately and my dear blogger friend Tiffany over @the curlworld, mentioned tilapia in the comment section on my post about Smoking points of oils. I was like “oh yes how could I forget?” I did not even reply back, I went out and got me some tilapia. (so this is your reply tiffany lol) I have not had tilapia in a while and so the reminder came at the right time because I lightly breaded it and fried in olive oil…… I was so satisfied. Tilapia is so versatile, it’s incredible the things you can make with it…. which got me thinking about some coconut tilapia perhaps??

Read Full Post »

I just ordered this skillet from CSN stores this week (full review on customer service and skillet coming soon). I initially wanted a saute pan that could double for a frying pan if needed. But then I came across this article which helped clarify and narrow down my search.
I don’t eat a lot of fried foods but when I do I like to have it homemade that way it’s fresh, crispy and tasty. As with anything fried the oil is what matters especially when it concerns taste. Which got me thinking about which oil would be the best to fry with. While researching, I came across the smoking points of oils, which turned out to be a very interesting cooking tidbit to know.

 The smoking point of oils is the point at which the oil starts to not only give off smoke but also the point at which the oil begins to breakdown, releasing unhealthy free radicals. Reaching the smoking point of any oil starts to destroy the many different qualities each oil possesses as well as change it’s flavor.

The higher the smoking point of the oil the better it is. Here is a brief list of oils and their smoking points: {Source}

-Avocado oil 520°F

-Safflower oil 510°F

-High quality (low acidity) extra virgin olive oil 405°F

-Coconut oil 350°F

-Extra virgin olive oil 320°F

-Almond oil 420°F

-Peanut oil 440°F

For baking: Coconut, palm, canola and high oleic safflower and sunflower oil work best.

For frying: Because they stand up well to the heat, avocado, peanut, palm and sesame oil are ideal for frying.

For sautéing: Many oils are great for sautéing, including avocado, canola, coconut, grapeseed, olive, sesame and high oleic safflower and sunflower oils.

For dipping, dressings and marinades: When it comes to making dressings and marinades, or finding oil that’s perfect to serve alongside crusty bread for dipping, you’re looking for terrific flavor. For this purpose look to flax, olive, peanut, toasted sesame or walnut oil. {Source}

Right now I cook and dress my salads with Extra Virgin Olive Oil. I’ve tried coconut oil and surprisingly doesn’t leave any trace of coconut flavor. I really liked it but seems like the boyfriend’s stomach was a bit sensitive to coconut oil so I had to switch to Olive Oil.
I’m really curious about avocado oil not only does it have a high smoke point, but can be used for any beauty regimen as well. I have been on the hunt for avocado cooking oil for a while to no avail. Hopefully my natural health food store stocks up at least with one bottle like I requested. I’m just in the mood for some good ol’ fried fish…..maybe a whiting fillet or a red snapper? lol

Read Full Post »

Hungry? CheeseBurger Empanadas

I tend to keep myself on a lean diet of salads, portioned rice and my hefty dose of seafood and veggies. But sometimes my inner child yells from within yearning for some guilty pleasures. Or how I like to call it…my anytime snacks.
Empanadas and I go way back. My mom and I used to make and sell them during the summer to my neighbors for a buck when I was a little girl. And it was the go to after school snack just enough to hold my siblings and I until dinner.
Every person from every country I have ever known has their own version of empanadas. Which is basically fried dough filled with anything you can imagine eating. I have had all types of empanadas. Vegetable empanadas, rice empanadas, shrimp, fish, chicken, cheese, although I have never tried it, even fried egg empanadas exist.
The possibilities are endless I tell you. Here I will show you how to make a cheeseburger empanada.

This weekend I got 1lb of ground beef and 10 flour discs already premade and ready to fry.
I seasoned my ground beef lightly with Adobo, added garlic and onions for taste and mixed together.

In high heat I added it to my pot. You don’t need to grease the pot, the meat will start letting out it’s own fat…

Which you will have to drain every now and then while it’s cooking, since you don’t want to end up with greasy meat.

Once you have made sure you cooked the meat thoroughly, with no pink meat in sight, you want to let it cool for a bit while you tend to the already thawed out Empanada discs.

You want to first place your slice of cheese if you chose (land o lakes American) and cooked meat at the center of the disc.
The meat you can get from your local meat dept. shop etc. However, for the flour discs there are two options… You can either make your own…or you can just go to your local ethnic frozen section and find your Empanada discs. I get the large ones for about $1.79.
. Once you have filled your disc with the thousands of things possible…..

You want to wrap the disc. Once you have done that you want to secure the edges with a fork….

And off to the frying pan it goes… I used Extra Virgin Olive Oil on med heat….

Leave in until both sides are crsipy…
And enjoy.
I usually add fried sweet plaintains but forgot!
You can turn this into anything you would like. You can either make just enough for one or make all ten and save them in the fridge for a day or two. If you get the urge just drop them into the frying pan whenever you get hungry.

Read Full Post »

In this post I will feature my favorite beans, blacks beans. I grew up loving this rice known as Moro de habichuelas negras. It’s one of my main go to rice when I want to pair it with a main dish, especially fish. The only difference in this recipe from growing up and now is that these beans are canned (gasp!). My mom hates everything canned so typically she would get raw beans, and soak them over night so they would get soft, and yes she did this everyday except Sundays for my entire childhood.
But I usually don’t have the time or enthusiasm after work to soak beans although I should because the taste definitely does not compare when you do it from scratch. However, thanks to Goya this takes me no more than 30 minutes to prepare. I swear if my mom would find out I did not use raw beans and soaked them over night she would be very hostile. But a woman’s got to eat and a can surely can do it for now. (Next food post I will show you how to soak and use them.)

This rice is also done with the same concepts as the last rice I did. Since I usually eye ball my ingredients, here are some exact measurements (and added ingredients) taken from Dominicancooking.com

4 people would make 6 cups of water and 4 cups of rice
The most basic Ingredients I use:

1 can of beans (your choice)
Adobo (or any all purpose seasoning of choice)
Vinegar
Extra Virgin Olive Oil
Achiote aka Bixa (to give hint of flavor and color)
Onions
Garlic
peppers
Olives (optional)
Cilantro (optional)
 In this post  I will accompany this rice with fish and a salad.
First you want to oil your pot with Olive oil
While your oil is heating up, chop up the onions, garlic and green peppers….
Add it to your hot pot

While your onions etc are sauteing you want to then add your beans of choice….
At this point you want to add your adobo, vinegar, olives,
Mix everything together….
Now add water and add your achiote and cilantro (if you choose) to lightly flavor and also color the rice. Once your water starts boiling ….
You want to add your rice….
 and stir every couple of minutes…..
 let it boil until the rice is almost dry and put a lid on it. Depending on your stove the rice will be done between 30-45 minutes.
The other day I noticed that my local walmart got rid of their seafood counter and replaced it instead with two huge coolers displaying fish in bags. While browsing I was curious since the price was $3.50 for this pack of 4 haddock pieces. 
Read more for some more goodness
The prices, depending on the fish, varied up to 8 bucks for salmon I think. But they had tilapia, flounder and a whole bunch of other fishes. However I chose haddock since it has been a while I had some and wanted to see how well these bagged fishes taste.

Since I like to keep it simple after work, I just grabbed what I had and chopped away.
 You can use so many types of marinades and rubs, however I chose to lightly sprinkle my fish with kosher salt, some garlic and onions and  lightly saute the fish with olive oil until it’s well done.
While the fish is almost done, the rice and salad is in route…..
And there you have your rice perfectly done not an overbearing taste at all which is what I like. For my salad, I did my usual watercress with cucumbers and red onions.
This picture came out a bit blurry but well worth the shot since everything came out pretty good.
And last but not least the CON CON I loveee how this soaks up all the flavors of the rice, this if most definitely my favorite part of the entire meal! 
 I’m exploring different organic natural seasoning alternatives and also different types of beans which makes for a great time and exploration. This can be a very hearty and fulfilling meal for not only yourself but entire family as well and usually for me, all in under 1 hour.

Read Full Post »

Radish and Cucumber Salad

I’ve been enjoying salads a lot this summer and it’s been a great way for me to enjoy a completely raw meal at least once everyday. Even though I tend to be a creature of habit, I like to switch things up a bit every now and then. One of my favorite things to have with an authentic Mexican taco is Radish (Rabano in Spanish). When you are biting into that spicy, tasty taco you usually have your radish standing by to neutralize the situation.
 I had to switch things up a bit because I have been on an avocado salad rampage since spring, usually adding watercress, red onions but always an avocado within reach. This week however, I decided to highlight cucumbers and radishes and give them creamy avocados I love so much a break. I got this bunch of radishes at my local supermarket for $1.39 which was moderately priced for an organic product (I tend to see lot of outrageously priced organic veggies). I also picked up a cucumber, 75 cents each.
Radish is a very healthy vegetable root with a lot of vitamins and minerals. Here are some benefits to radishes:
Jaundice: Radish is very good for the liver and the stomach and it is a very good detoxifier too, that is, it purifies blood.
Kidney Disorders: Being diuretic, cleanser and disinfectant, it helps cure many kidney disorders. Its diuretic properties help wash away the toxins accumulated in the kidneys.
Weight Loss: Radishes are very filling, i.e. fills your stomach and satisfies your hunger easily without giving you many calories, as they are low in digestible carbohydrates, high in roughage and contain a lot of water. It is a very good dietary option for those determined to lose weight.
Radishes are a very refreshing source of antioxidants essential for the scoping out of free radicals which causes the onset of internal and external aging and like it’s family members (broccoli, cabbage) radish can be  a great vegetable against cancer causing toxins.

Essential for maintaining healthy skin and overall health, radishes are great choices for Vitamins A and C. It helps lower cholesterol, treats cancer sufferers, improves the immune system, eczema, constipation, gall stones and bladder issues. Radishes are also known for treating thyroid  problems mostly for it’s healthy sodium content.
Cucumbers are also very refeshing and helps the skin tremendously thanks to it’s high water content. Like radishes, cucumbers are high in vitamin A, C again essential for a healthy immune system and clear skin. Cucumbers are also high in fiber making it an ideal remedy against constipation as well.
This is truly an ideal cooling salad, feels very fresh and is very simple to make. I just drizzled some Extra Virgin Olive oil and a pinch of Kosher salt and half a red onion. I chopped the cucumbers into half circles and thinly sliced the radish. Radishes have a rather earthy, peppery taste ideal for any sandwich. I like salads very much because I can usually pair it with any meal I like. Eating healthy while not depriving myself.

Sources:

Ayurvedic Healing Cuisine: By Harish Johari

Improve Your Health With Carrot Radish & Ginger By Rajiv Sharma

The Encyclopedia of Healing Foods By Michael T. Murray, Joseph PIZZORNO, Lara Pizzorno

Read Full Post »

Lychees vs Quenepas

Whenever you are on the train in NYC and you see someone carrying this bright orange bag, you know they got something very interesting from Chinatown.
I was passing through Chinatown the other day and picked up some lychees, 2lbs for $3. You can usually find them along Mott st. and surrounding markets. For those who don’t know, lychees are a very popular fruit throughout Asia. Lychees are very nutritious and contains vitamin C, Potassium, Copper and provides an array of health benefits. Lychees are also known to aid with intestinal health, sore throats, and basically contributes to overall well being.
With all that said let’s figure out how to eat these 🙂
When I first tried Lychees out I was immediately reminded of quenepas (more on them later).
Just like the quenepas (Spanish limes), you crack it open to reveal the fruit inside. The outside shell of the lychee is rather stubbly and bumpy.
So there you go, a bumpy road…
to reveal a sweet juicy heaven! The seed of the lychee is surrounded by the juicy pulp you eat.
This is one very unique taste and I had like 20 in one sitting and not one tasted sour at all. Each one had such a sweet taste and alluring scent (almost like pomegranate), it was amazing.
Now let’s try Quenepas out (Spanish Limes)!
I have so many memories with quenepas, limonsillos, mamoncillos, kenep, genip (they have so many names). These are also known as Spanish limes and they are truly a great part of my childhood summer memories. Spanish Limes are very popular throughout the Caribbean and locally you can find them in many Dominican, Puerto Rican produce markets.

Some say quenepas are a cross between lychees and limes but who knows really? I did not find a lot of nutritional information on quenepas other than it contains most of the same vitamins and minerals as lychees.
But this is what I did find:
“Virgin Islanders sometimes eat genip or kenip fruit to alleviate diarrhea,4 and Haitians sometimes consume powdered roasted genip seed syrup or tea for the same purpose.3 Virgin Islanders have also been known to take a decoction of genip leaves and stems orally for coughs and fever.4 In Haiti, the macerated juice of genip leaves is gargled to relieve sore throat, thrush, and tonsillitis.3 A decoction of genip leaves is also drunk in the Bahamas to lower blood pressure.5 “ from HerbalGram.org

So quenepas and lychess basically helps alleviate both stomach and throat problems. Unlike the lychees bumpy exterior, quenepas have a very smooth texture and they do look like small limes.
Like the lychees, you crack open the quenepas and the pulp surrounded by the seed is what you eat.
Quenepas have this weird coating over it which is what I really don’t like, and has a tangy taste, not sour just a light tangy taste. They were not as sweet as the lychees but nonetheless they are amazingly good .
So make sure to always look around and discover great fruits which are secretly sitting in amazingly great flavors. These are great to have chilled maybe in the fridge for a couple of hours or have it sitting on ice. So for this match I have to say lychees are my new favorite snack. Lychees are so sweet and have an amazing aroma and with my sweet tooth tendencies this is a great light and refreshing alternative.

Read Full Post »

Juicing: Carrots and Apples

It’s been a while since I have used my handy little juicer and my favorite book I like to use with it for reference. So this morning after browsing through my book I decided to make a juice with some handy fruits and vegetables. I had a few carrots and apples around and thought why not….
My boyfriend’s grandmother gave this juicer to me a couple of years ago and I tell you I have made so many juices with this little old juicer and not to mention all the traveling it has been through. Juicing is a great way for you to get all the vitamins and minerals fruits and veggies can provide especially if you tend to be a picky eater and don’t like to eat fruits and vegetables straight up.
Juicing is very simple just choose what kind of juice you want to make, all vegetable based, all fruit, or mix them up. You decide what you want to make and go from there. The recipes are endless and any juice can expose you to other types of vegetables you may have not liked or did not know how to use. In my case for example, beets is a vegetable I don’t really enjoy in my salads but when I make a beet, apple and pear juice the taste is not so unpleasant. Simply passing a slice of apple into your juicer can instantly give any juice a sweet and tasty kick.
My juicer has a side where it separates the fruit and vegetable’s skin and dispenses the juice on the other side. Depending on the fruit, sometimes I like to take the pulp and make a face mask out of it either adding on more nourishing ingredients to it or simply alone.
Carrots are rich in vitamin A, K, C as well as in many minerals such as phosphorus, magnesium and potassium. All essential nutrients for a healthy immune system. Carrots also contain antioxidants vital for healthy glowing skin as well as maintaining healthy eyesight. Apples are also very tasty and healthy. Juicing apples is a great way to naturally sweeten  any juice you make. Like I mentioned if you are making a juice and it tastes rather bitter an apple always saves the day.
Apples are also very nutritious and it is said that raw apple juice is great for those who suffer with asthma. There are many great benefits to apples and they have been attributed with treating cancer sufferers as well as diabetics while also helping lower harmful cholesterol levels. The skin of the apple is said to be very healthy packing on more vitamins, minerals and antioxidants than the inside of the apple itself. ( just beware of the wax most apples and fruits in general are covered with.)
-Nice, sweet, simple and very cooling natural juice you can enjoy anytime-
All in all any fruit and vegetable can provide you with many nutrients and you can create countless of recipes for yourself. Juicers range in many sizes and prices so make sure you shop around for the best one that suits your need and budget.

I got this juicing book full of recipes for 25 cents at some random yard sale.
You can find it HERE if interested.
There are many suggested recipes for all types of ailments. Here are a few of my favorite I have tried:
Cellulite
2 apples seeded
1 pear
Body Cleanser
1/2 Cucumber
1 beet
1/2 apple
4 carrots, greens removed
Migraine
1/4 inch slice of ginger
1/2 cantaloupe
Anemia
3  Beet tops
4-5 carrots
1/2 green pepper
1/2 apple, seeded
Diarrhea
1/4 head cabbage
2 tomatoes
Hair Growth
2 dark green lettuce leaves
handful of alfalfa sprouts
4-5 carrots
Skin
2 slices of pineapple with skin
1/2 cucumber
1/2 apple seeded
Menopausal symptoms
1 Kale leaf
1 collard leaf
handful parsley
1 stalk of celery
1 carrot
1/2 red pepper
1 tomato
1 broccoli floweret
Celery stalk for garnish

Read Full Post »

Malanga, yautia coco

Now that summer is just about here I’m slowly saying good bye to my winter comfort foods. This is perhaps one of my most favorite things to eat for breakfast. Malanga as I know it (many varieties of names, yautia coco being one, I like malanga however) is a very tasty tropical root in the taro/yam family I believe. I never really knew what malanga’s exact health benefits were other than I would be full for hours after eating malanga. However I was reading that it can be a great substitute for flour especially for those who are allergic to it and is high in riboflavin and thiamine.
Malanga is a very versatile vegetable pairing up greatly with almost anything. Malanga can be prepared just like you would regular potatoes. Peel the skin, cut them into pieces, boil, mash them up and add butter or whatever. I like to just add olive oil and light salt. Malanga has such a nice soft taste and aroma especially when it’s boiling. It’s like the more elegant exotic version of plain old potatoes.

Malanga on the outside looks rugged but when you cut one up you are left with what seems to be purple streaks which almost looks like strands. When it boils the white background turns into this light blue purple as well as the water its boiling in. I like to chop up pieces of malanga and add them to my soups to thicken it a bit. You can also bake them, I prefer them boiled, since I really like it’s creamy texture.
You can have malanga with anything. Hard boiled eggs, a piece of ham, vegetables, cheese, and my favorite bacalao (cod fish). Malanaga deliciously balances the salty tendency of the cod fish.  Malanga can be found year round at your local Latin American produce shops as well as most china towns. Try not to confuse malanga with the rest of the yams. Which I happen to not like much. Malanga tends to be round and oval, not long or skinny like the other yams.
Malanga is also great for toddlers who are starting to eat solid foods. Keeps them full and satisfied for hours.

Read Full Post »

Older Posts »